Cutting the window out was actually pretty easy. Took a pencil and made a square then used my dremel and cut it out, after that I used some small files and went all around the cuts to even them out and make straight lines. Then I had some plexiglass that I cut to size and hot glued on the back side of the case so no dust or hands could get on the inside.
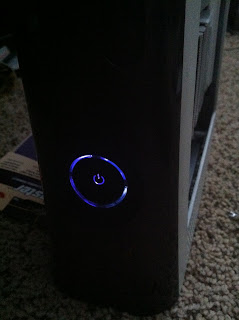
After I did all that the next step was paint sadly I don't have pictures of this step either as at the time I wasn't planning on making a blog lol, but anyways I primed, painted and clear coated the whole case. Now the fun part begins! working on the inside. Now that I had this nice looking window and newly painted case I had to do something to make it all pop! Thats where my LED strips come in. I ran them along the inside of the case and soldered them to the 12v spot on the motherboard, then while I had the case apart I went ahead and added some purple SMD's to the ring of lights on the front and it all turned out like this.
BTW some of the pictures you will notice the wire coming through the window, that was before I had put the window in its no longer like that :).
The LED's I added are color chaning there is a remote with color options you can cycle through all the colors fast or make it slow, or you can choose just one color to leave it on.
Also I added a window to the hard drive for the 360 and added some purple LED's in that.
Well that's all the updates for today. I will upload more tomorrow.


No comments:
Post a Comment